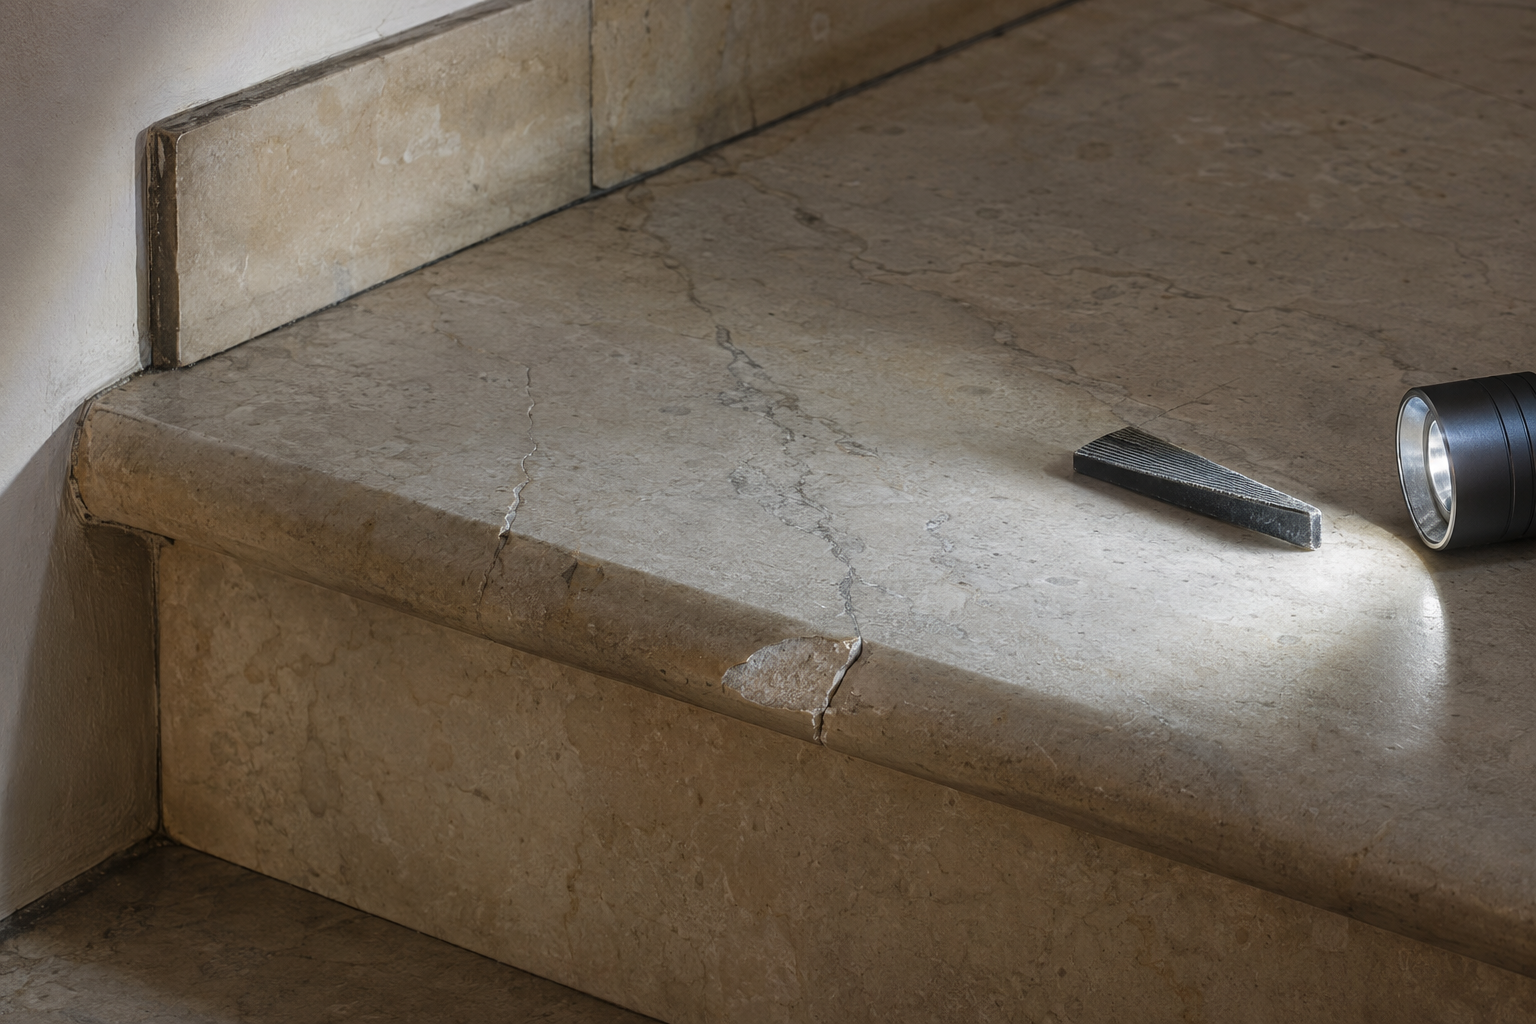
Diagnosis by Symptom
Diagnosis: Cracks, Chips and Breakage in Natural Stone
Determine whether the damage is confined to the stone or indicates substrate movement, stress, impact, handling damage or a design issue.
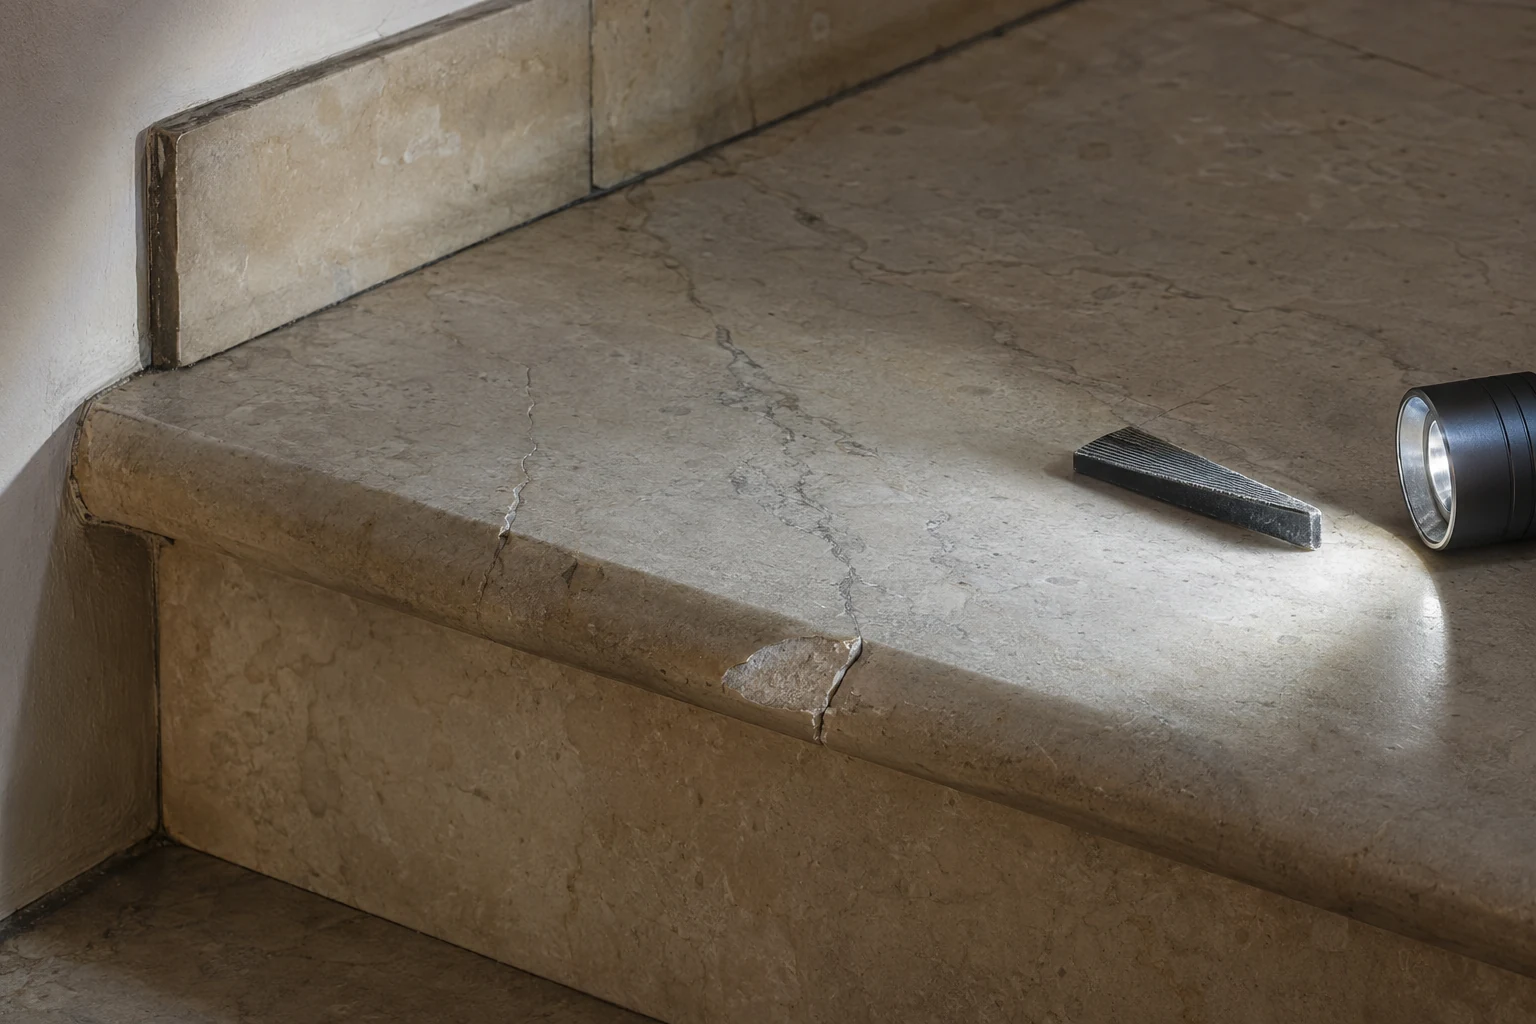
Identify the condition before treating it
A fine fissure within veining, a full-depth break and a chipped edge do not require the same response. A defect continuing through joints, the substrate or adjacent elements often indicates movement in the construction rather than an isolated weakness in the stone.
Before filling anything, record the length, opening, orientation, level difference and development over time. A cosmetic repair applied to an active crack will reopen and may conceal evidence needed for structural diagnosis.
| Observed sign | What it may indicate | First action |
|---|---|---|
| Crack extending from a joint or across several slabs | Substrate movement or a missing movement joint | Suspend cosmetic repair |
| Clean chip on an exposed corner | Impact, handling or an overly vulnerable edge profile | Make the edges safe |
| Crack following a natural vein | A weakness plane under stress | Assess thickness, reinforcement and span |
| Break with a change in level | Deformation or displacement | Prioritise structural assessment |
| Micro-cracking around a drilled hole | Stress concentration or fabrication damage | Check the fixing and hole diameter |
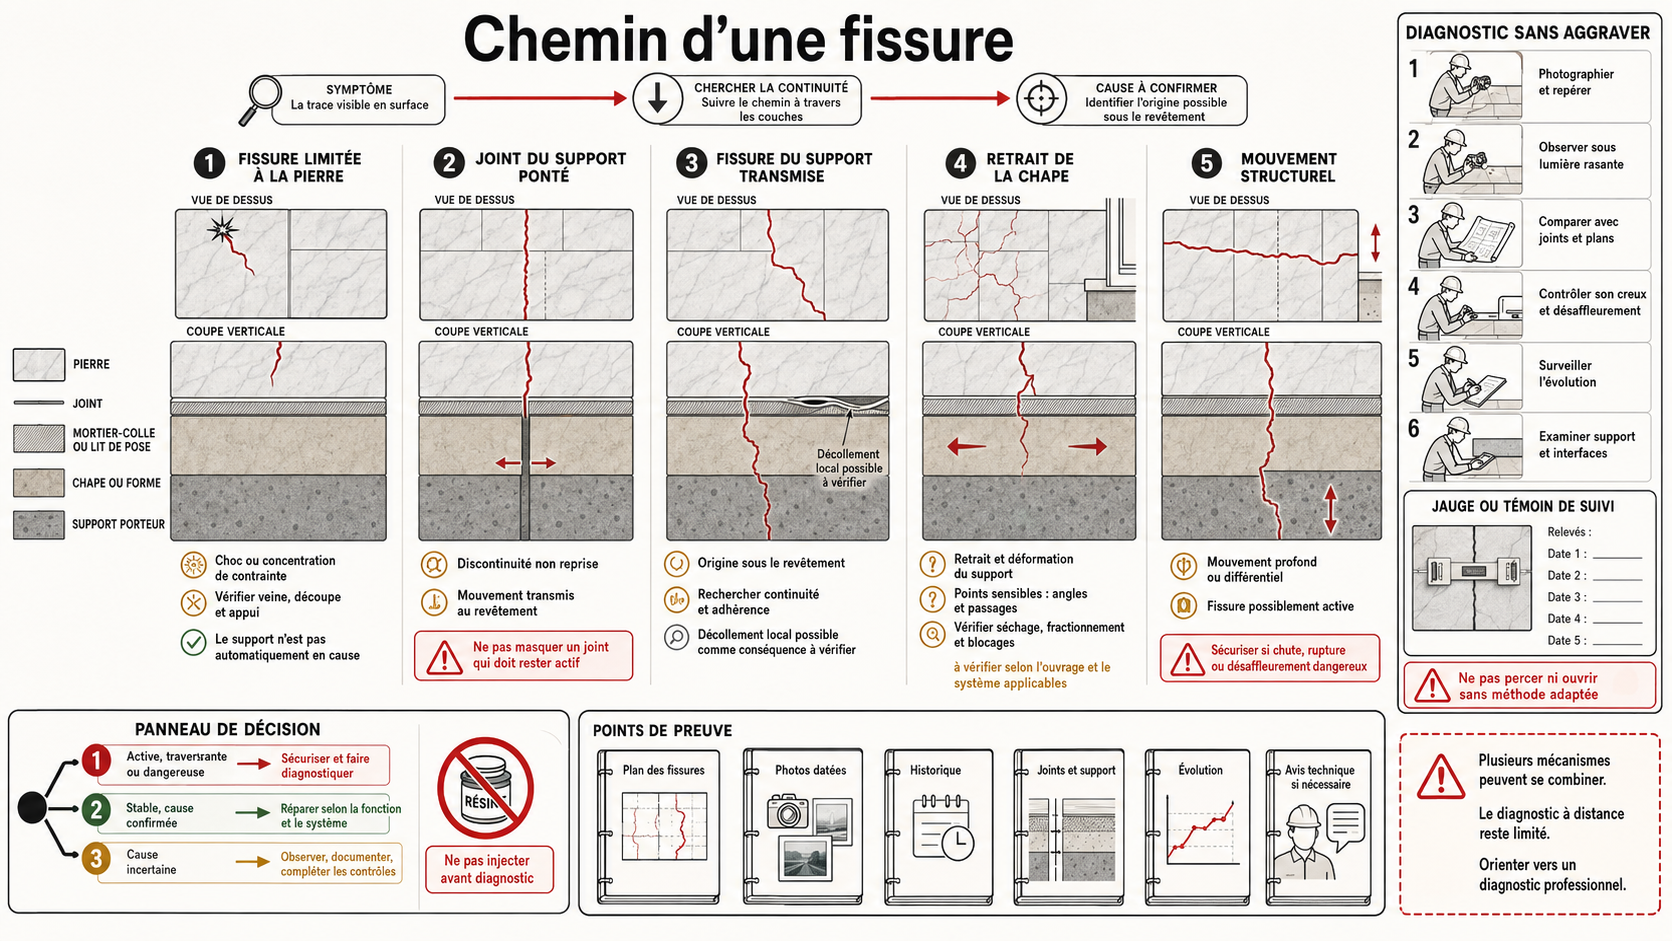
Active or stable crack
Activity cannot be determined from a single photograph. Suitable tell-tales, dated measurements and observation through seasons or heating cycles help establish whether the opening is changing. A simple plaster tell-tale is not always sufficient and must not obstruct a specialist investigation.
Vertical elements, ceilings, façades, cantilevered steps and load-bearing components require particular caution because a falling fragment can create an immediate hazard.
Checks that will not make the condition worse
| Check | How to proceed | How the result informs the diagnosis |
|---|---|---|
| Damage mapping | Pedestal defects on drawings and scaled photographs | Reveals alignment and repetition |
| Opening and level difference | Measure with a suitable tool without forcing the crack | Distinguishes fine fissuring from displacement |
| Continuity | Inspect joints, the underside, accessible substrate and adjacent elements | May identify an origin in the construction |
| Cautious tap testing | By a professional, and only where there is no falling hazard | May reveal associated debonding |
| Monitoring over time | Dated measurements under comparable conditions | Confirms whether the crack is stable or active |
Step-by-step diagnosis
| Stage | Question to resolve | Decision |
|---|---|---|
| 1 | Is there a risk of falling material or failure? | Make the area safe and obtain a specialist diagnosis |
| 2 | Does the crack continue through several layers? | Investigate substrate movement |
| 3 | Is the defect changing? | Do not fill it before the cause is stable |
| 4 | Can the stone be repaired without compromising its function? | Select bonding, a stone indent, pinning or replacement |
| 5 | Is the repair appearance acceptable? | Approve colour, texture and visibility on a test piece |
Treat the confirmed cause
| Confirmed cause | Treatment principle | Condition for success |
|---|---|---|
| Small stable chip | Compatible stone indent or repair mortar | Sound substrate, secure key and approved colour |
| Break in a non-load-bearing component | Designed structural bonding with reinforcement where required | Clean faces, suitable geometry and compatible adhesive |
| Crack related to the substrate | Address movement, the joint or the failed layer | Cause stabilised before finishing |
| Dangerous or severely weakened element | Controlled removal and replacement | Handling and fixings redesigned |
What not to do
- Inject resin without knowing whether the crack is active.
- Conceal damage before it has been jointly recorded.
- Drill near an edge to retain a fragment without a designed fixing detail.
- Use a rigid filler in a joint that must accommodate movement.
- Assume that a filled vein is automatically defective—or automatically safe.
When to consult a specialist
- An active or full-depth crack in a façade, ceiling, step or load-bearing component.
- A heavy element that could fall.
- Damage aligned with cracking in the building.
- A repair requiring reinforcement, pinning, structural bonding or lifting.
Preventing recurrence
- Carry substrate and movement joints through the stone finish.
- Design thicknesses, spans, drilled holes and fixings.
- Protect edges during transport and installation.
- Avoid unplanned cantilevers and point supports.
- Retain drawings, pre-installation photographs and reinforcement details.
Frequently asked questions
| Question | Practical answer |
|---|---|
| Can a crack be purely cosmetic? | Yes, but it must first be shown to be stable and without functional consequences. |
| Will resin restore the stone’s original strength? | Not automatically. The result depends on the geometry, product, preparation and future loads. |
| Must every chipped slab be replaced? | No, provided its function, safety and appearance can be restored durably. |
Limits of remote diagnosis
This guide supports a methodical initial diagnosis. It does not replace an on-site investigation where stability, waterproofing, structure, public safety or professional liability may be involved.
Document the case with an overall view, a close-up with a scale, edges, joints, possible water paths and an unaffected comparison area. Record when it appeared, how it has changed, which products were used and any recent work.
Assess urgency before intervening
Determine whether the damage is confined to the stone or indicates substrate movement, stress, impact, handling damage or a design issue.
The first objective is not to hide the visible damage immediately. Determine whether it is stable, progressive or hazardous. A long-standing dry blemish does not have the same priority as a moving slab, opening crack, active leak or element at risk of falling.
Begin by protecting people and the construction. Stop sources of water or chemicals where this can be done safely. Do not grind, fill or inject the damage before it has been recorded. Dated photographs and simple measurements usually provide more useful evidence than a premature repair.
Urgency increases when damage changes rapidly, reappears after repair, affects several aligned elements, accompanies movement, occurs on a façade or in a public area, or reveals water ingress. Cosmetic work must wait until safety, structural and waterproofing issues have been assessed.
| Response level | Typical situation | Recommended action |
|---|---|---|
| Documented monitoring | Stable, dry appearance with no movement or hazard | Photograph, measure and compare before any treatment |
| Controlled local trial | Probable cause and non-hazardous surface | Test the method on a small, discreet area |
| Specialist assessment | Uncertain cause, recurrence, large area or sensitive stone | Have the complete assembly examined before treatment |
| Immediate safety measures | Movement, risk of falling material, active ingress or risk to the public | Isolate the area and contact the appropriate specialist immediately |
Diagnostic reasoning in typical cases
A crack extending from a joint or across several slabs makes substrate movement or a missing movement joint plausible, but not proven. Inspect edges, joints and the layers beneath and monitor change over time. Suspend cosmetic repair until the cause is understood.
A clean chip on an exposed corner suggests impact, handling damage or an overly vulnerable edge profile. Make the area safe, examine the fracture surface and review the support and handling history before choosing a repair.
A crack following a natural vein suggests a weakness plane under stress. Assess thickness, reinforcement, span and support, then determine whether the vein is stable or carrying loads it was not designed to resist.
A break with a level difference suggests deformation or displacement. Prioritise structural assessment and do not force the pieces back into alignment before the movement has been investigated.
Micro-cracking around a drilled hole suggests stress concentration or fabrication damage. Check the hole diameter, edge distance, fixing, tightening and support conditions before repairing the surface.
Preparing an assessment request a specialist can use
A useful assessment request describes the location, suspected stone, substrate, age of the installation, date of appearance and any recent work. State whether the area is indoors or outdoors, dry or wet, heated, exposed to frost, traffic or intensive cleaning. A photograph without this context can support several conflicting diagnoses.
Prepare an overall view, a medium-distance view and a close-up with a ruler or object for scale. Also photograph joints, edges, the underside where accessible and adjacent unaffected areas. Use the same angle and lighting to monitor change.
Attach the stone data sheet where available, installation drawings, fixing or reinforcement details and the repair history. State what has already been attempted and the result. This helps the specialist plan suitable checks before visiting.
Choosing between monitoring, testing and treatment
Approve a repair only when it addresses the confirmed cause, preserves the stone’s function and can produce an acceptable appearance across the relevant area. A test repair verifies strength, curing, colour, texture and visibility and must be assessed after the appropriate waiting period.
Specialist involvement is essential for active or full-depth cracks in façades, ceilings, steps or load-bearing components; heavy elements at risk of falling; defects aligned with building cracks; and repairs requiring reinforcement, pinning, structural bonding or lifting. The diagnosis should state its limitations and any further investigation required.
| Stage | What the check is intended to establish | Possible decision |
|---|---|---|
| Damage mapping | Pedestal defects on drawings and scaled photographs | Reveals alignment and repetition |
| Opening and level difference | Measure with a suitable tool without forcing the crack | Distinguishes fine fissuring from displacement |
| Continuity | Inspect joints, the underside, accessible substrate and adjacent elements | May identify an origin in the construction |
| Cautious tap testing | By a professional, and only where there is no falling hazard | May reveal associated debonding |
| Monitoring over time | Dated measurements under comparable conditions | Confirms whether the crack is stable or active |
| 1 | Is there a risk of falling material or failure? | Make the area safe and obtain a specialist diagnosis |
Key concepts
From the Marble Import blog
Related articles and completed projects
Damaged Marble: How to Assess and Repair It
Explore an additional guide, example or completed project from Marble Import.
Continue reading
Related guides
Marble and Natural-Stone Restoration
Restoring marble or natural stone begins with diagnosing its actual condition, selecting the right level of intervention and achieving a sound, consistent and durable surface without promising the impossible.
Substrates, Screeds, Levelling Compounds and Residual Moisture before Installation
The durability of a stone floor or wall depends on the substrate: flatness, cohesion, moisture, cracks, primers, existing finishes, underfloor heating and product compatibility.
Natural-Stone Installation
Successful installation coordinates the substrate, stone, format, thickness, adhesive or mortar, joints, falls, uncoupling, protection and post-installation care.
Atlas of Marble and Natural-Stone Edges and Profilees
The edge is the visible third dimension of stone. Square, chamfered, rounded, bevelled, moulded, tapered or built up, it changes the design, tactile quality, impact resistance, cost and fabrication method.
Diagnosis: Dull, Yellowed or Grey Marble
Distinguish a maintenance film, acid etching, moisture, oxidation, an ageing treatment and an actual change in the stone before attempting to clean or repolish it.
Diagnosis: Stains on Marble and Natural Stone
Identify the contaminant family, penetration depth and any chemical change before selecting absorption, poulticing, cleaning or surface restoration.